The Ultimate Handyman Guide: Tips And Tricks For Home Repairs
Are you tired of calling a handyman every time something breaks in your home? Do you want to save money and learn how to fix things yourself? Look no further! In this ultimate handyman guide, we will provide you with tips and tricks for home repairs that will make you feel like a pro.
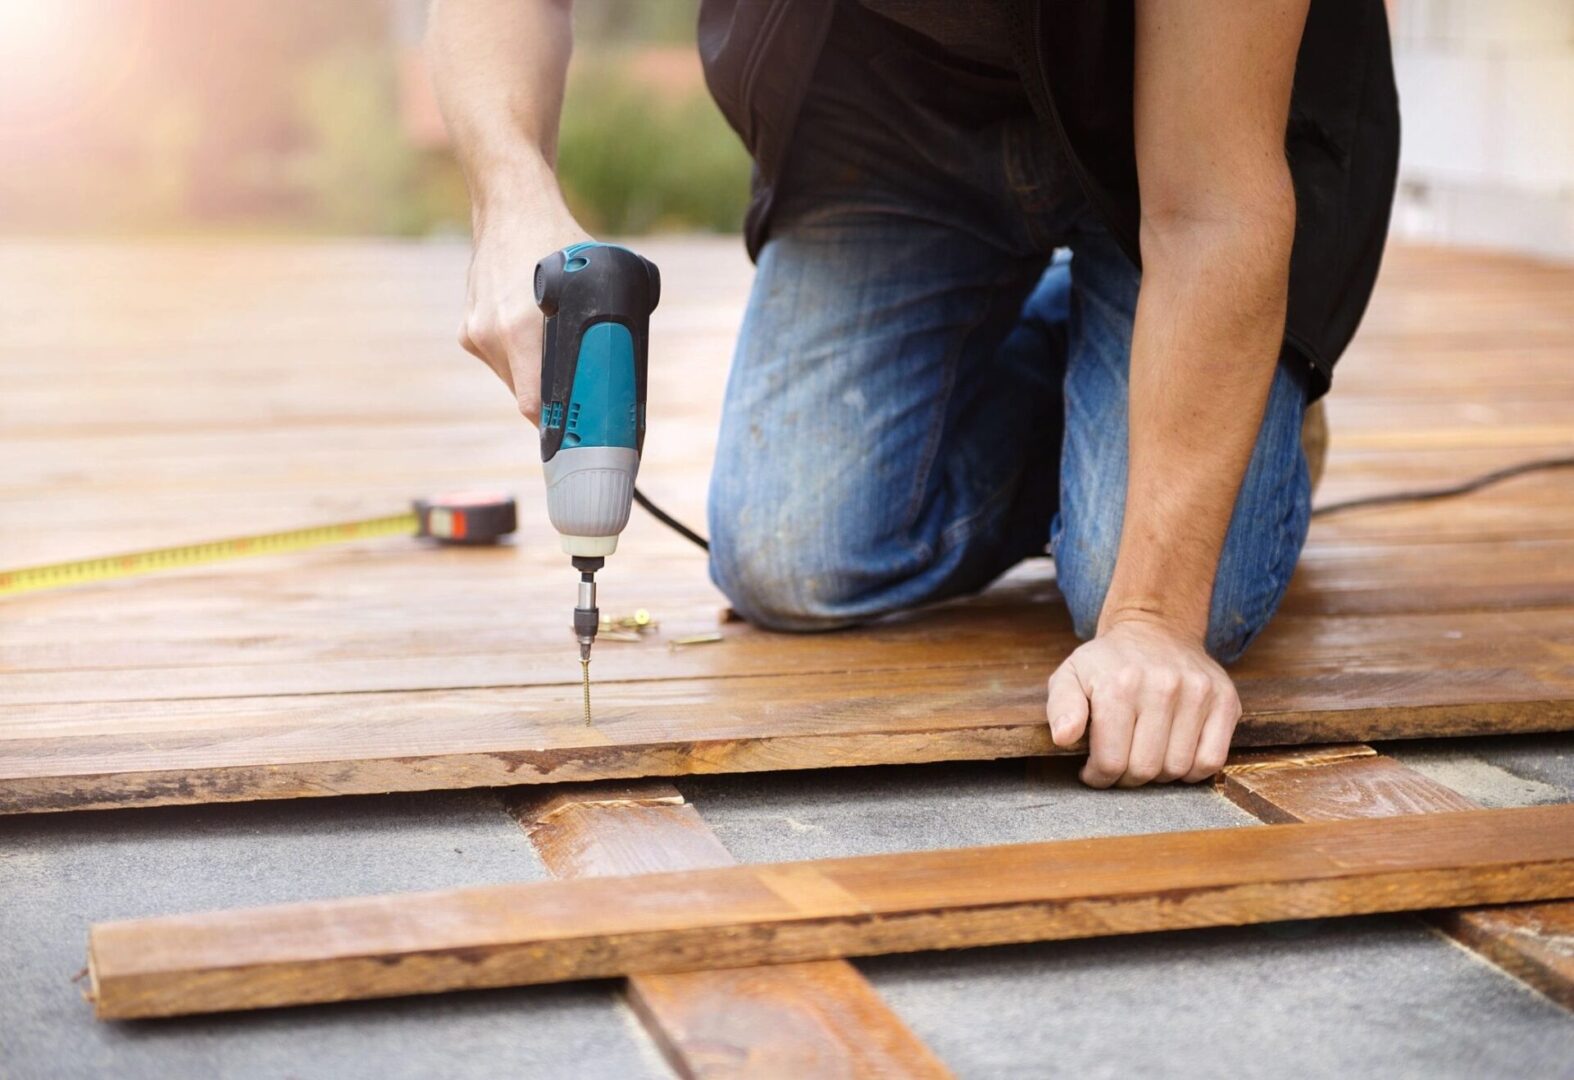
- Equip Yourself Properly
Having the right tools is crucial for any handyman endeavor. A well-equipped toolbox should include basics like a hammer, screwdrivers, pliers, wrenches, a tape measure, and a level. For more specialized tasks, invest in power tools such as a drill, saw, and sander. Don’t forget safety gear: goggles, gloves, and a mask, especially for tasks involving dust or chemicals.
- Know Your Limits
Understanding your skills and limits is key. While DIY can be fulfilling, some tasks might require professional expertise. Structural changes, electrical work, or intricate plumbing might be best left to the experts to ensure safety and compliance with regulations.
- Educate Yourself
Before starting any repair, research and gather information. With the internet at your fingertips, numerous tutorials, forums, and videos provide step-by-step guides for almost any home repair task. Understanding the process beforehand can prevent mistakes and make the task smoother.
- Fixing Plumbing Woes
Dealing with a leaky faucet or a clogged drain is a common household woe. Learning to fix these issues can save money and prevent water wastage. Basic tools like a plunger, pipe wrench, and plumber’s tape can assist in handling these problems. Remember to shut off the water supply before starting any repairs.
- Tackling Electrical Repairs
When it comes to electrical repairs, safety is paramount. Always turn off the power to the area you’re working on. For simple tasks like changing a light fixture or a switch, ensure to follow proper wiring diagrams and use appropriate tools. If in doubt, consult with a professional electrician.
- Painting and Patching
Painting can transform a space. Properly prepare the walls by cleaning and sanding them before applying paint. Use painter’s tape to protect areas you don’t want to paint. For small holes and cracks, learn to patch and blend them seamlessly with the existing wall using spackle or joint compound.
- Carpentry and Woodwork
Basic woodworking skills can be immensely useful. From repairing furniture to crafting shelves, having the ability to work with wood expands your DIY capabilities. Invest in quality wood, proper measuring tools, and learn techniques such as cutting, sanding, and finishing.
- Regular Maintenance
Prevention is better than cure. Regular maintenance can prevent larger issues from arising. Check for leaks, clean gutters, service HVAC systems, and inspect your home for signs of wear and tear. Simple upkeep can save you from major repairs down the line.
- Stay Organized and Patient
Organize your tools and materials before starting any project. Patience is key in DIY—rushing can lead to mistakes. Take your time, follow instructions carefully, and don’t hesitate to ask for help or seek professional advice when needed.
Every completed repair or project is a learning experience. Celebrate your successes and learn from any mistakes made along the way. Embrace the learning process, and with each task, you’ll grow more confident and skilled.
So, going for home repairs can be both empowering and rewarding. Armed with the right knowledge, tools, and attitude, many tasks can be accomplished without the need for professional help. However, knowing when to call in an expert is just as important. By following these tips and tricks, you’ll not only save money and time but also nurture a sense of accomplishment that comes with taking care of your home. So, roll up your sleeves, gather your tools, and embark on your next home repair adventure!